That dreaded day has come when your local copy of the kit is no longer the latest version! Well fear not, updating it is very simple.
First though, check to see if updating is actually needed. In your local version, go to your General settings tab and look at the Build number (circled in the image below). Unless you’ve changed it yourself, it should still be at whatever number we entered. This is essentially our version number, but instead of using the Version field (which is tied more to your version in the App Store), we use the Build field. So if that number is less than what you see in the download section for the kit, then it’s time to update (Lifetime Access buyers can check the latest version here, and Subscribers can check here).

What To Update…
First backup the version you’ve been working on. Zip it all (including the Xcode project and folder containing all the code and resources), label it something smart, and rest easy knowing you can always revert back to that version if needed.
Next download the latest version of the kit. You can update everything without Xcode being open, and just overwrite the Swift files in the Finder (that’s how we do it, that’s how we recommend doing it). You could also open both Xcode Projects and either delete files, then drag from one project to the other, or copy and paste code, but all that takes WAY more time than simply overwriting files in the Finder.
Most often, the only files you will ever want to overwrite are the Swift files (some are seen selected below). And if you aren’t sure which to select, you could just select them all, or compare the Date Modified dates between the two projects (assuming you haven’t edited any of the code yourself).

Select the Swift files. Copy them. Head over to the older project, and paste them via the Finder window. When prompted, Replace the older ones, and wah-lah, you’re done!
What to do about new Class Files…
Occasionally we add new Swift files, so if you’re upgrading your existing project from a version that didn’t have these files you will need to include them as well. You can import them by simply dragging them from the latest version into your version. This will copy them in. A dialogue box will appear, and be sure to use these same settings (shown below)…
As of version 1.6, you need to import a new file Home_Store.swift .
As of version 1.71 you need to import a new file Health.swift.
What NOT to Update…
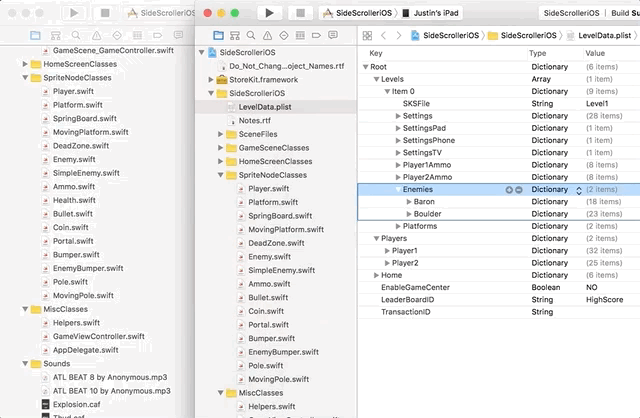
Files you DO NOT want to overwrite are the non-Swift files….
- LevelData.plist
- Any Scene (.sks) files.
- The Game.xcassets catalog
- Your .atlas folders