Watch the video tutorial or read the article…
So you’ve been tasked with making an Android app, huh? Perhaps at gunpoint. Or peer-pressured like I was. I made an iOS Member Check In app for my neighborhood pool, and while it’s one thing to make an iOS-only app for the anonymous masses, it’s a whole different thing when your friends are like, “Dude, where’s the Android version?”. So I dug deep into my soul and decided it was time to stop exclusively developing for iOS (which I have been for many years).
I’ll admit I came out the other side better for it. Actionscript 3 and Swift are actually really similar. And it only took me about a week and a half to re-create my iOS app for Android. While Actionscript 3 hasn’t changed it’s version number in forever, that doesn’t mean it hasn’t been updated. Adobe has been putting plenty of effort into the language and every hiccup I ran into was quickly solved from a Google search (and usually a StackOverflow answer). So it was nice to know there’s plenty of communal developer support. And with that, let’s get down to it…
Fire up Adobe Animate CC and create a new document using the AIR for Android type. Leave the width and height at the default settings of 400 by 800.
In the app I submitted to the Google Play Store and Amazon App Store, I kept the default the size and did some scaling calculations based on the device width and height. We’ll get to that later though.

Head over to the Publish Settings (Property Window > Publish Settings). Tap where it says AIR 26.0 for Android. Obviously future versions will be higher than 26.0. So let’s go over some of the more important settings here, starting in the General tab.
Output File – this is the actual file you will upload to the Google Play Store or Amazon App Store. The extension is .apk.
App Name – This is the display name on your device. Keep it short and sweet. This is NOT the name of the app in the store itself.
App ID – This is your App ID, and for anyone coming from the iOS world the suggested formatting should look familiar (reverse domain style). For whatever reason, this has to begin with “air.”. Notice how that’s hard coded in. And here’s a pro-tip: Once your app is in the Google Play store, you can find it with this link… https://play.google.com/store/apps/details?id=[your App ID]
Version: Whatever version the app is. Start at 1.0 and go from there. Should match up to whatever version you’re at in the Store.
Version Label: I just kept this matching whatever the version was

Fullscreen – I toggled this on, but later in this series I’ll describe how I handled multiple screen sizes.
Development Tab
Certificate – Generate an Android signing certificate if you haven’t already. All apps need to be signed. Save the certificate someplace local to your app so you remember where it’s at.
Password – enter the password for the certificate.
AIR runtime – Yes please. Toggle on Embed AIR Runtime with Application. Sure that’ll add a little bit to the file size of the app, but I’d rather that, than the alternative, which is the user has to go download Adobe AIR.
After Publishing – Once your Android device is in Developer Mode it should show right up here. Hit Refresh if not. A few times unplugging it and plugging it back in helped.
The rest is pretty self-explanatory, Icons are just icons. Permissions, you probably don’t need for now (though feel free to toggle on Internet). Languages. Duh.
Where to write your first line of Actionscript 3…
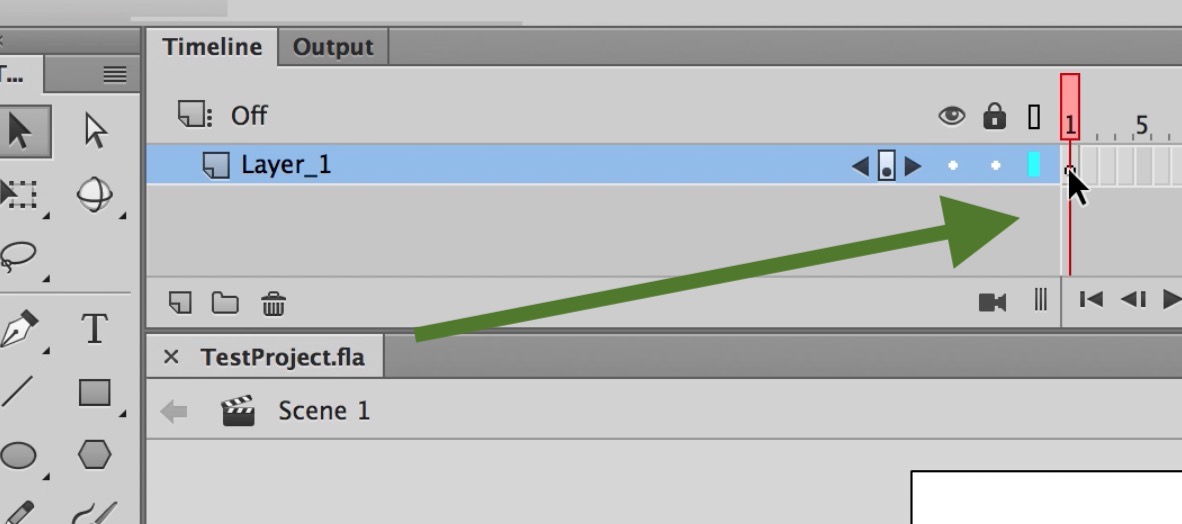
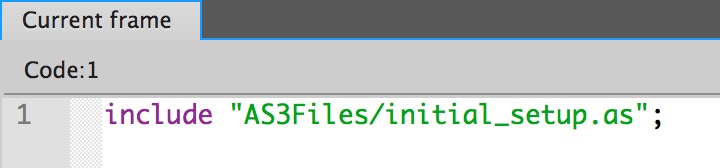
Select the only frame on your timeline, then go to Window > Actions. In the Actions window you can begin typing your first line…
include "AS3Files/initial_setup.as";
Wherever you saved this project (your .fla file), create a folder there called AS3Files. We are going to write our code in separate Actionscript files (.as extension). So go to File > New and find Actionscript File.
Save this file as initial_setup.as, then write…
trace ("Hello world");

Test the Movie
There isn’t much to test at this point, but if everything is working we should read “Hello world” in the Output Window. To make that happen go to Control > Test (Command – Enter).