CartoonSmart students can now choose between buying Lifetime Access to our courses or purchasing one of our affordable Subscription plans. Lifetime Buyers can choose between downloading zip files of each movie or streaming them on any of their devices. Subscribers can stream courses, also on any device, and whether or not you subscribe or buy, every student has access to course materials (which could be PDF files, images, video, code projects, etc depending on the lesson).
The techniques in this lesson could apply to other vector based illustration software, but your instructor uses Adobe Flash, a multimedia and software platform used for authoring vector graphics, animation, games, and apps. Vector artwork can be exported at virtually any size without pixelation or loss of quality.
This tutorial is taught by Justin Dike, founder of CartoonSmart, iOS developer and long-time Flash advocate for animation, illustration, interactive apps, and games. Feel free to contact Justin through email or follow him through any of CartoonSmart’s social media outlets.
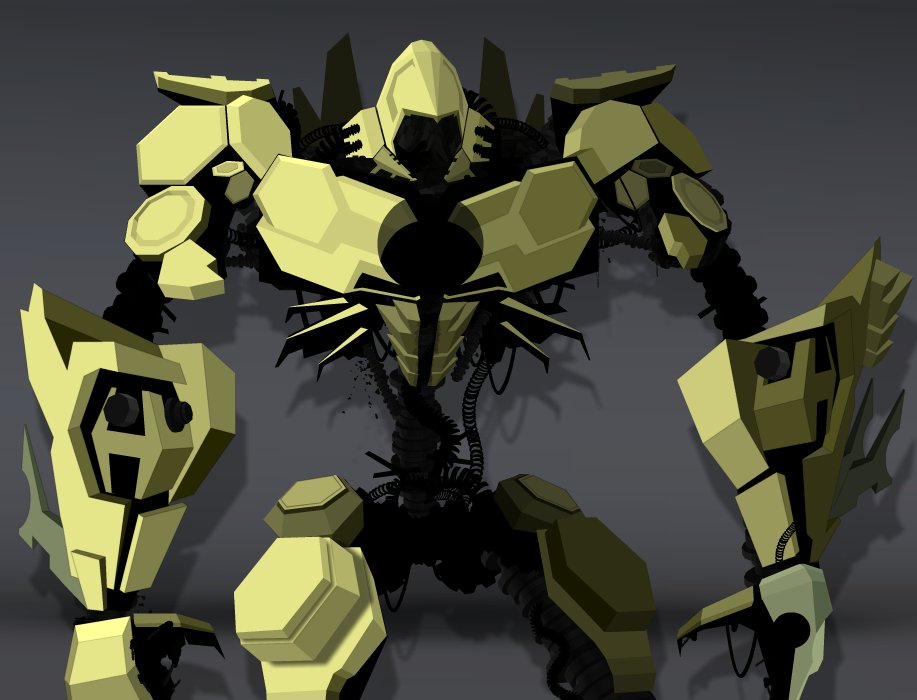
How to Draw Giant Robots using Adobe Flash
This first session is a soft-approach to getting started with Adobe Flash and vector illustration in general. If you’ve never used Flash before, be sure to watch the initial setup video. Otherwise, you can begin by creating simple polygon shapes, which we extrude to create more complex shapes. We’ll also talk about perspective and create a quick body pose to use in Session 2.
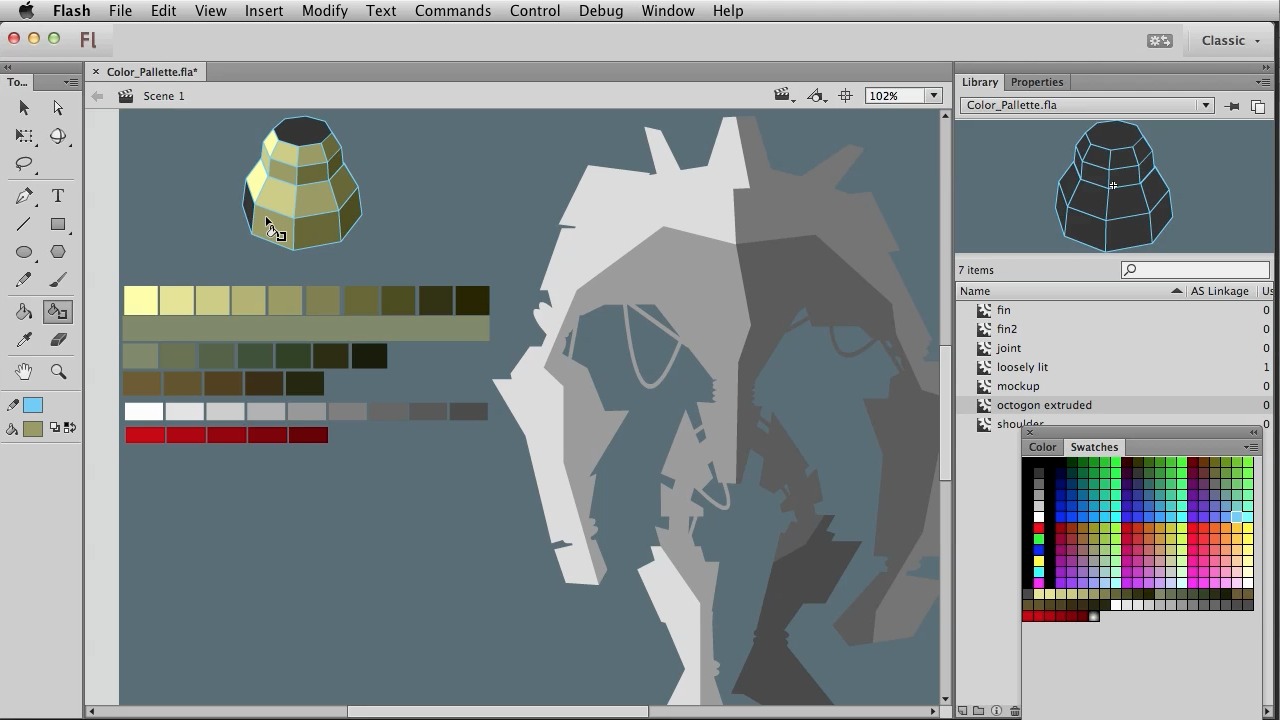
This session teaches how to save a color palette in Flash, color a three-dimensional object, texture using masks and images, add rust and smoke fx, and more.
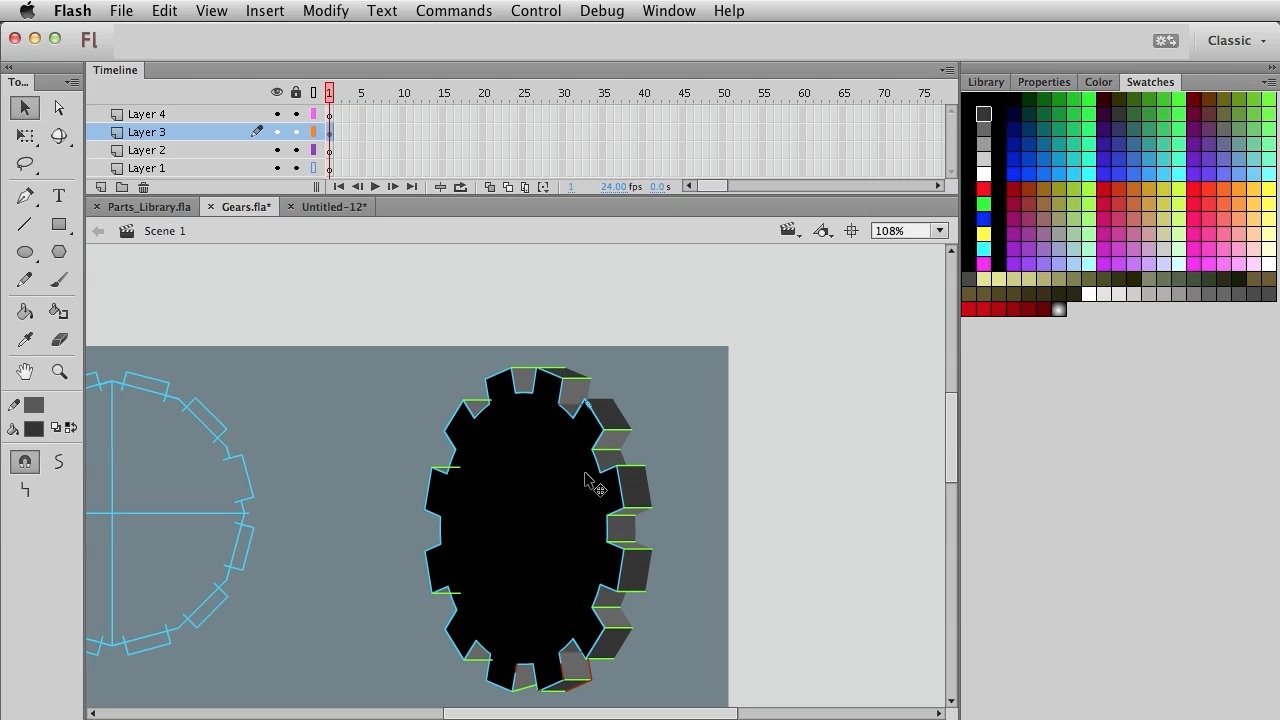
In this session, we will build up a library of symbols which we can use throughout the rest of the course and in future projects. Keeping an archive of past “parts” will help you to speed through production on your next robot masterpiece.
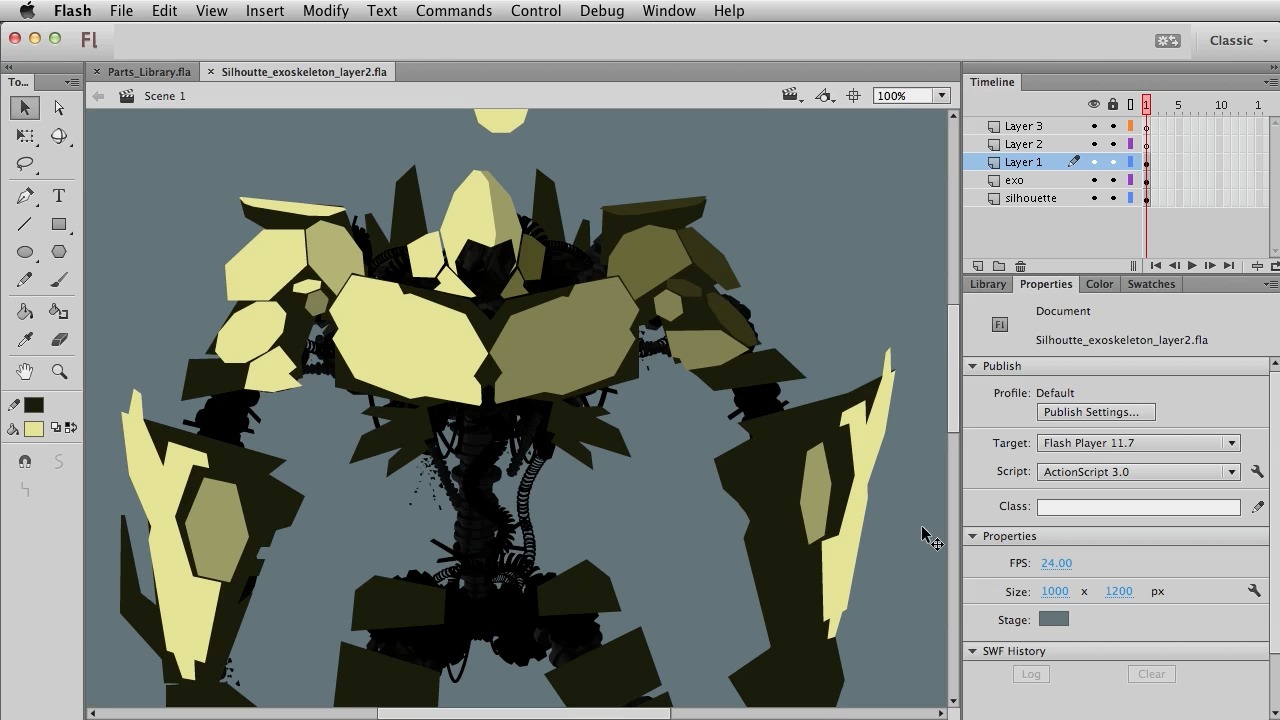
It’s time to begin your epic robot masterpiece. This session will teach you how to use parts from your library and build the silhouette of your robot-to-be. Then we’ll carefully begin adding one-dimensional polygon planes to the robot. Our aim is to simply get a solid foundation for the finished piece.
In this session we’ll begin extruding the primary planes we created last session and build the robot’s entire exoskeleton, or outer armor, with special attention to both design and functionality.
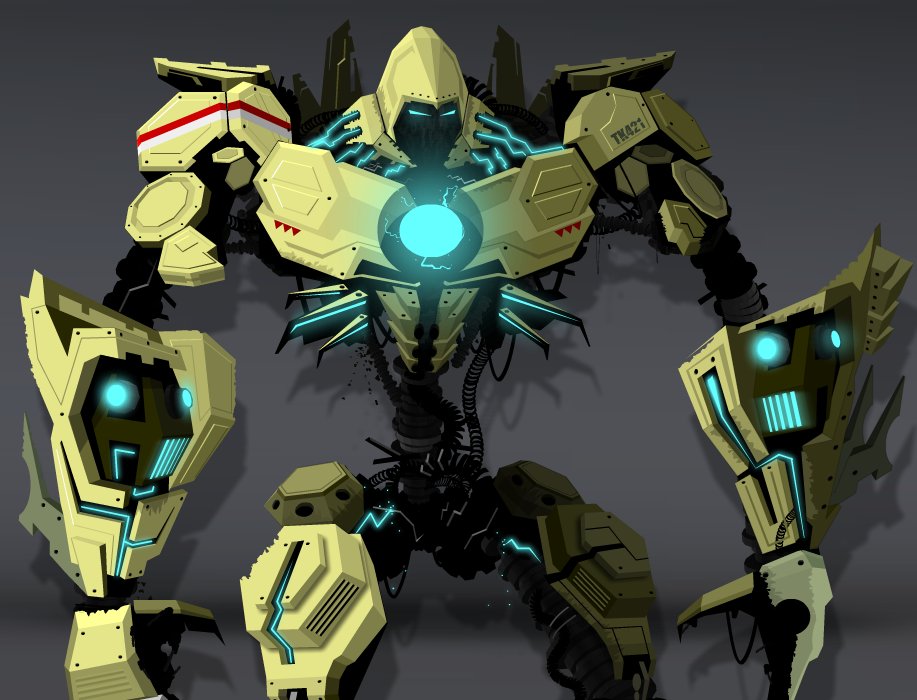
This session we’ll add lights, vents, divides in the armor, chip away at the edges, insignia, bolts, piping and just about everything else we need before we send our robot off to the next session for final shading.
In this final session we will concentrate on giving our robot realistic shading and atmosphere. We’ll add a background layer, then shade each region of the body accordingly. We’ll add smoke effects, damage, debris and even some helicopter fire. Finally, we can export a high resolution image, open it in Photoshop and add watercolor effects to make the image have a painterly, movie poster feel.
Get Lifetime Access to this course for a one-time purchase price. You can download (or stream) the movie files and download any source projects. Already have Lifetime Access? You can get started watching the video tutorials from right here. Get access to this course and dozens more through the CartoonSmart Subscription. Stream videos from any of your devices and download any source files / projects.
Buy or Subscribe

Learn Adobe Flash in this course.

Read about your instructor.

Session Details…

Session 1: Polygon Shape Design

Session 2: Shading and Texturing Practice

Session 3: Parts Library

Session 4: Silhouetting and Adding Primary Planes to the Final Piece
Session 5: Extruding Planes for the Exoskeleton
Session 6: Embellishing the Exoskeleton

Session 7: Adding Realism to the Final Piece

Two affordable purchasing options, both with social-sharing discounts.
Purchase Option 1 - Lifetime Access
Purchase Option 2 - Subscription Access


