
Buy or Subscribe
CartoonSmart students can now choose between buying Lifetime Access to our courses or purchasing one of our affordable Subscription plans. Lifetime Buyers can choose between downloading zip files of each movie or streaming them on any of their devices. Subscribers can stream courses, also on any device, and whether or not you subscribe or buy, every student has access to course materials (which could be PDF files, images, video, code projects, etc depending on the lesson).

Find out about the software used...
Blender is an open source, cross platform suite of tools for 3D creation. Blender is free to use for any purpose. You can download it at Blender.org

Learn about your instructor...
John Nyquist is a Blender Foundation Certified Trainer (one of the world’s first) and has taught many past CartoonSmart tutorials on game programming and Blender.
Primer Course: A Quickstart Guide to Blender – 90 Minutes


Learn something truly fun!
A Blender Game Character – 8 Hours

The real fun begins in ‘A Blender Game Character’, where you’ll learn how to take a basic illustration or idea for a character, model it in 3D, animate it, and ultimately export out sequential PNG files which you can use in your next app or game. This 8 hour series was recorded in real time, so you will feel like you are side-by-side with your instructor as he guides you through every step in the process. By the end of the course, you should feel capable of building anything in Blender, and specifically all your own game art.

Session Descriptions
Session 1: Introduction and Initial Setup
- Introduction – 00:21
- Prerequisite Skills – 00:16
- If you’re on a Mac – 00:45
- If you don’t have a number pad – 00:53
- If you don’t have a 3-button mouse – 01:16

Session 2: Modeling
In this second session, you will learn to model a human body.
- Modeling Intro – 00:11
- Body Building – 21:58
- Getting a Head – 11:15
- Give ’em a Hand – 17:54
- Footloose –19:47
- Tweaking the Figure – 19:13

Session 3: Mapping
In this session, you will add seams to the mesh of the character, add details to the head, handle UV islands, and learn how to paint directly onto the figure.
- Mapping Intro – 00:33
- Adding Seams – 06:41
- Add Detail to the Head – 09:12
- Islands – 06:54
- Painting the Color Map – 13:52
- Painting Details on Head and Chest – 12:52
- More Figure Tweaking – 15:40

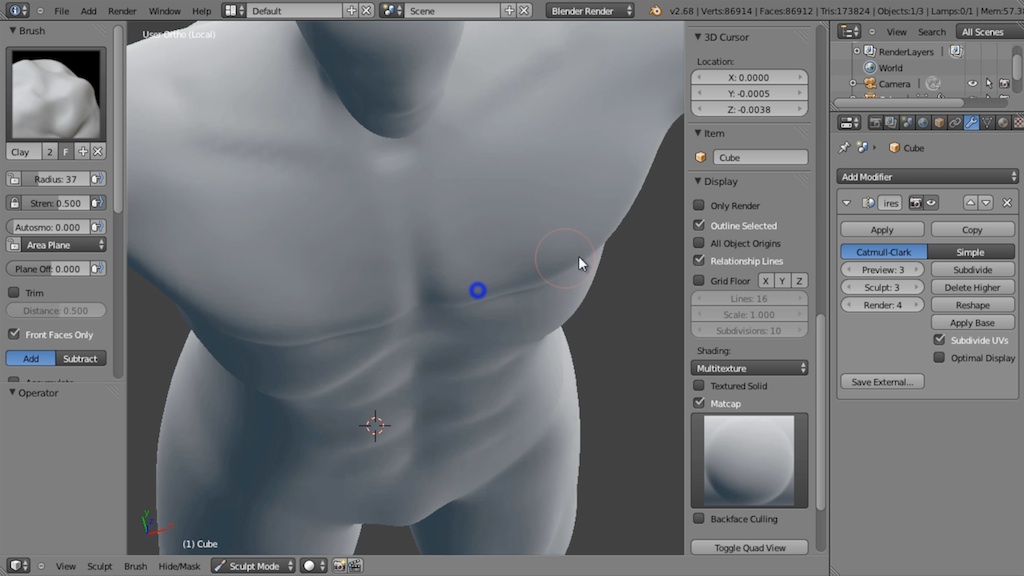
Session 4: Sculpting
In this section, you will fine tune the character by sculpting it further and add more muscle definition.
- Sculpting Intro – 00:12
- Body Sculpting – 25:52
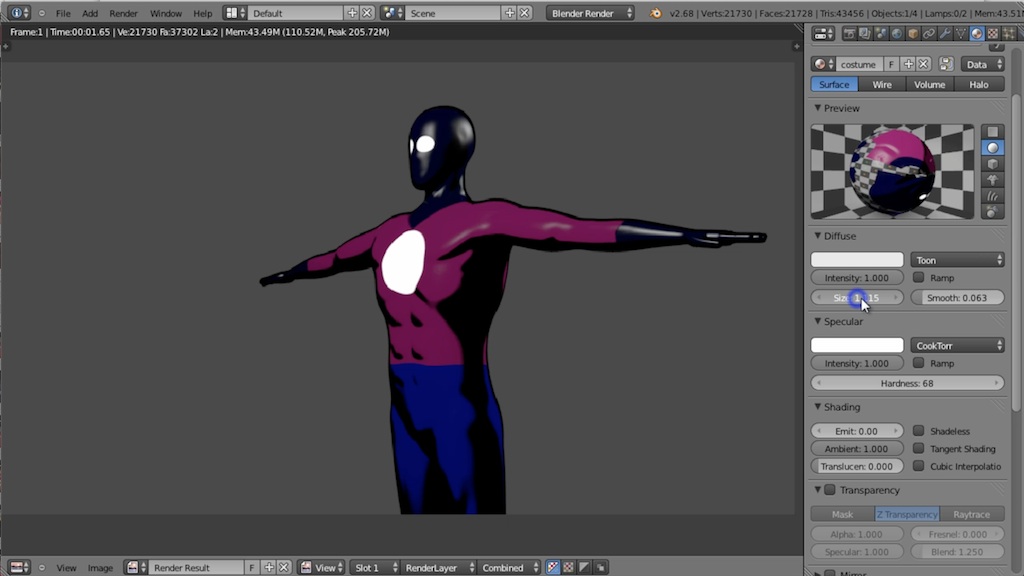
Session 5: Advanced Mapping
In this session, you will learn specular mapping techniques, emission maps, creating a normal map from the sculpting to enhance the simpler mesh from the previous section, and much more.
- Mapping Intro (Deja Vu) – 00:37
- Mmmm, Baking Normals – 09:05
- SpeTACular Map – 10:01
- Emit Map – 03:15
- Renderin’ Fun – 05:49
- Touch Up – 05:46
- Removing some Geometry – 04:15
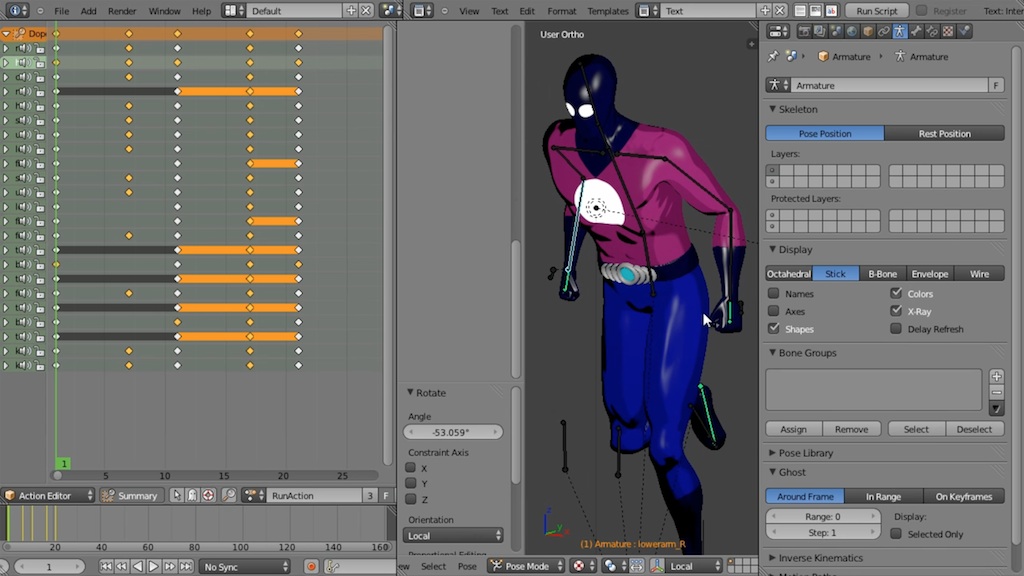
Session 6: Rigging and Skinning
In this session, you will add a complete skeletal rig to the character for animation in later sessions. This rig will include fine motion control handles for making a fist to punch and a reverse foot rig to aid in run or walk cycles.
- Rigging Intro – 01:02
- Building the Rig – 13:27
- Move your Bones – 03:31
- Rig the Fingers – 10:14
- Finger Constraints – 08:11
- Snap to Symmetry – 06:45
- Weight Painting and a Little Script – 16:10
- Reverse Foot Rig – 09:25
- Weighting the Foot – 09:40
- Rig Tweaks – 05:50
- Tweaking the Hand Mesh – 05:01
- Action Constraints – 10:22
- Right Hand Animation – 04:42
- Adjusting Body Proportions – 08:30

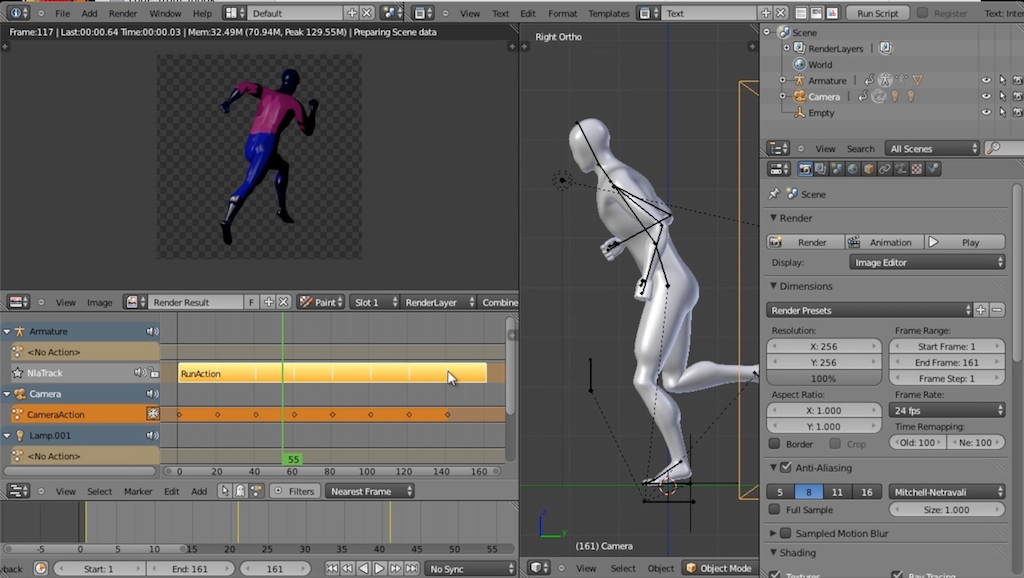
Session 7: Animation
In this session, you will make the character come to life as he runs, punches, breathes in a resting position. You will also see how to interact with these movements in Blender’s built-in game engine.
- Animating Intro – 00:33
- Hiding Bones – 01:23
- Animating a Run – 05:53
- Punching Action – 13:46
- Idle Time – 03:13
- Logic Bricks – 08:12
- Fine-tuning the Run – 04:58

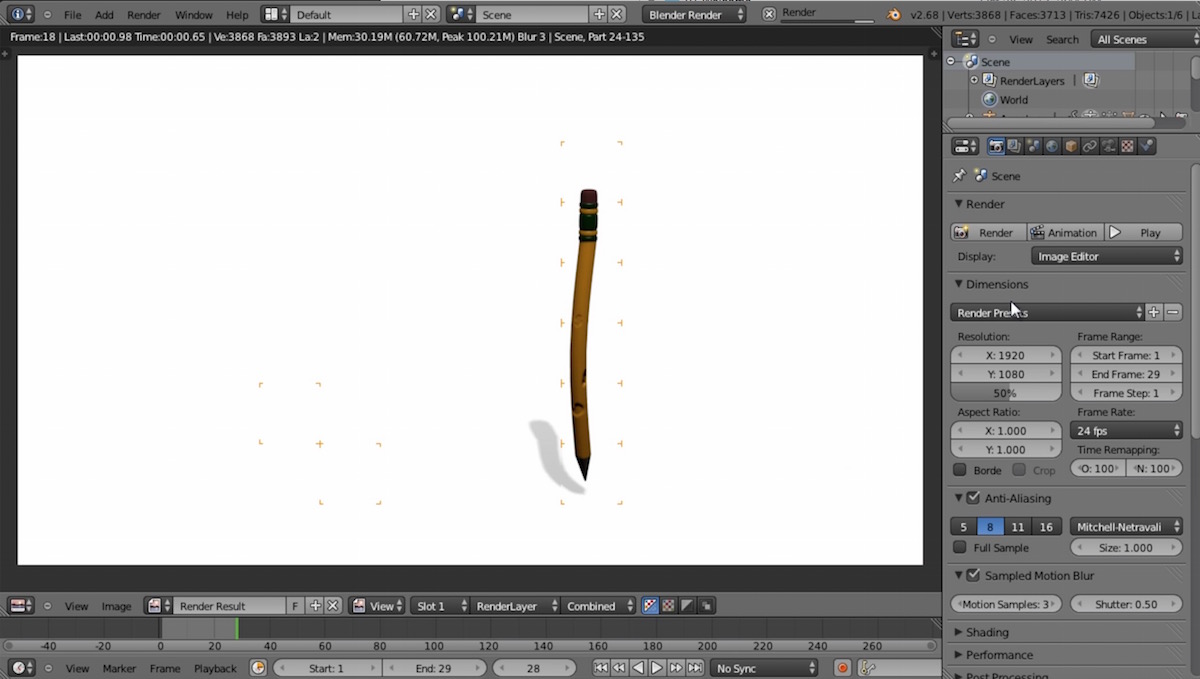
Session 8: Rendering
In this section, you will learn how to export game sprites (images) of your animation sequences, automate rendering of 8 different views, and see how they look imported into a program like Flash.
- Rendering Intro – 00:44
- Rendering Sprites – 06:15
- Rendering Around Fixed Angles – 07:33
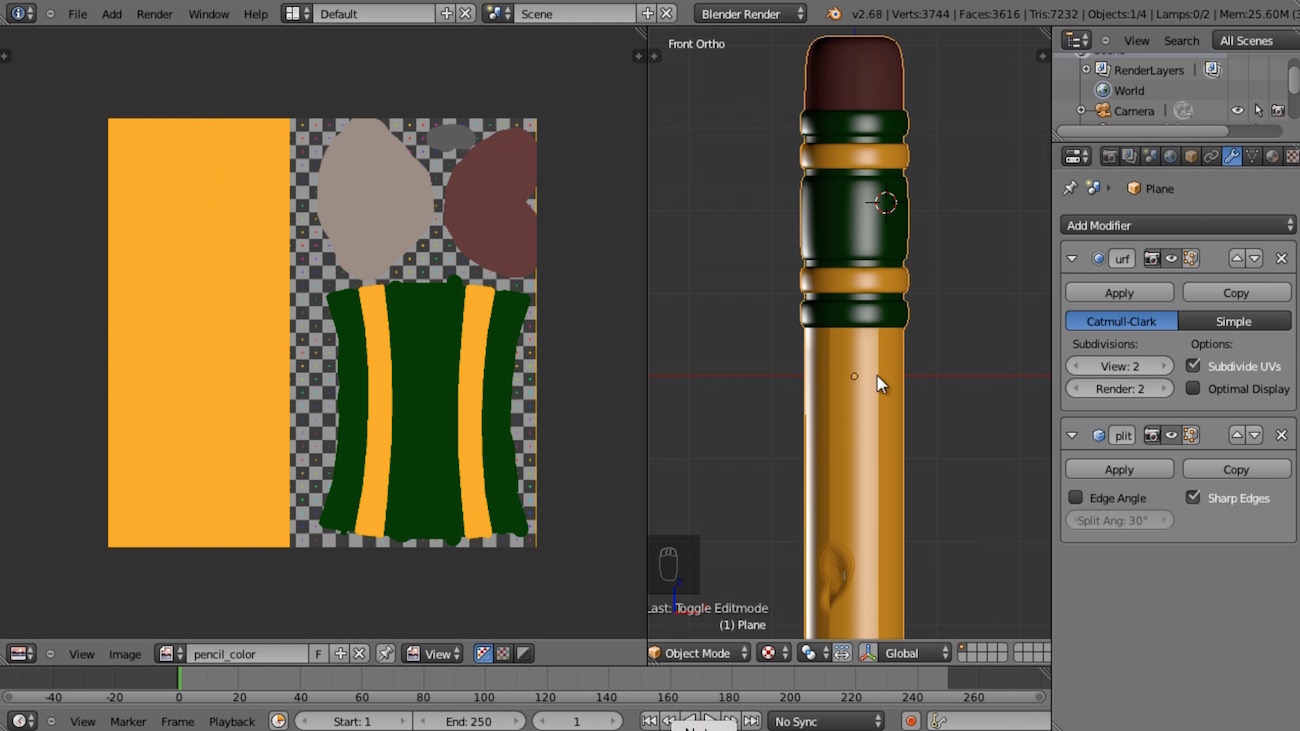
Session 9: Modeling a Utility Belt
In this session, you will model a bit more, while learning how to add multiple material textures to a single mesh (using UV mapped and non-UV mapped textures), and also use the array modifier.
- Back to Modeling Intro – 00:36
- Adding a Belt – 20:59
- More Belting – 17:52
Session 10: Cycles Rendering & Conclusion
In this session, you will create a special pose for the character to illustrate how to use the Cycles Renderer, a raytracing based render engine with support for interactive rendering, a new shading node system, new texture workflow and GPU acceleration.
- Cycles Intro – 00:38
- Setting up a Pose – 09:54
- Creating Node-based Materials – 13:24
- Goodbye – 00:33

Watch a short video of highlights from the course


Two affordable purchasing options, both with social-sharing discounts.
Purchase Option 1 - Lifetime Access
Get Lifetime Access to this course for a one-time purchase price. You can download (or stream) the movie files and download any source projects.
Already have Lifetime Access? You can get started watching the video tutorials from right here.
Purchase Option 2 - Subscription Access
Get access to this course and dozens more through the CartoonSmart Subscription. Stream videos from any of your devices and download any source files / projects.
Browse All Courses